In the beginning it all started with a visit to CCC's 23C3 Congress end of last year where we saw a Microdrone in action. I wrote about that visit and our exceitment about the advances in closed-loop control in this blog entry.
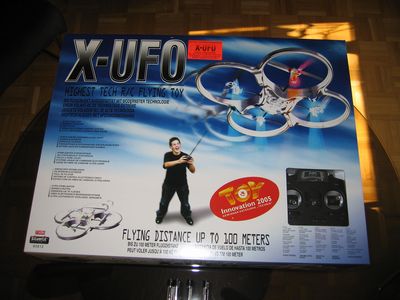
Following the visit to 22C3 we discovered the comercial product X-UFO and bougth one immediately:
Later on we discovered the UAV Community on the network. Several Open Source projects have been very successful in creating their own version of a Universal Aerial Video Platform. Most notable are Wolfgang's UAVP , Holger's MikroKopter and last but not least the Paparazzi Project.
After long forum inquest and even longer discussions with my brother we decided to join the fun.
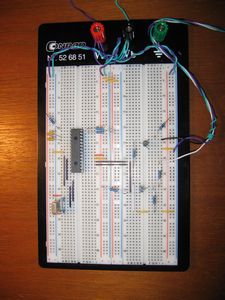
At first, we did not have any parts to build something, so we started simple by playing with the main processor of the UAVP Board. The board implements the flight stablilization closed-loop control using a PIC microprocessor, which I put on my experimental board to play with:
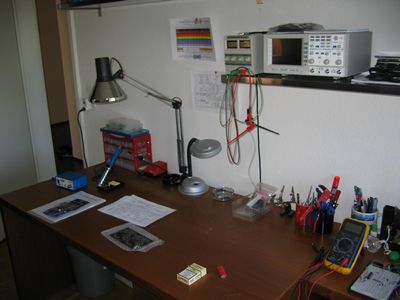
To be able to work professionaly on the project we cleaned up my workplace and prepared everything. Note the nice digital storage oszilosope I own now... :)
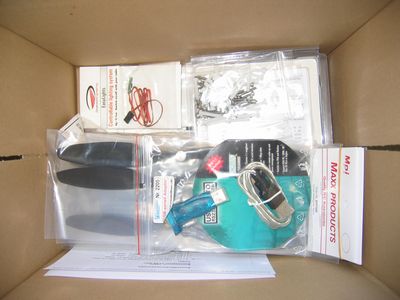
We got the first parts for our own UAVP two weeks ago from several german shops:
Over time all the other parts except for the frames were finally delivered and we started the construction of our own UAVPs.
It seems that the frame producer has big troubles delivering in time, so we decided to build our own frames. We still hope to receive the ordered frames sometime in the future. This makes sense, since we want to build several UAVPs and for that we need more than one frame...
We then started to work on the flight controller board. It's all implemented using SMD, so everything is quite small and complicated to hold and place:
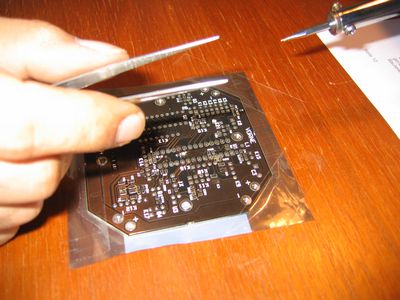
Two days (and nights) later, we finished the two boards finally convinced that we burned most of the parts to hell and that the two boards will never work as expected:
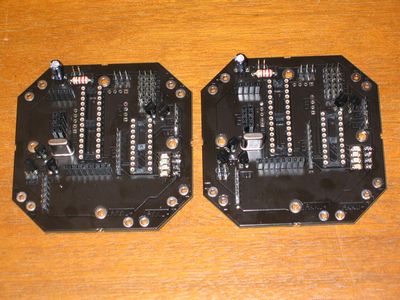
But who would have belived it?
One of the boards worked perfectly immediatley, the second one we got to work after finding one badly soldered pin. This is near perfection!
Normally such SMD boards get made with a method called reflow soldering, which is something we can't do easily at home. I have to mention that this is not a complicated SMD board to solder for an experienced person, but to us doing this for the first time it was a real challange!
It looked adventurous when we checked out the boards:
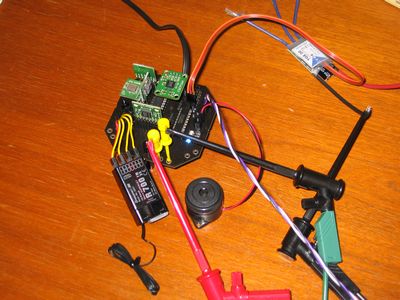
The small green plates you see at horizontal and vertical angles on the board are the sensor breakout boards used by the flight-controller to stabilize the horizontal position of the flying UAVP.
So we finally got two working flight controller boards for our future UAVPs.
There's still the question of a frame to use and how to build it... ... but I will tell you more of our Quest in my next blog entry soon to follow!
![The sitemap of this site [Sitemap]](/site/images/sitemap)
![Validate my RSS feed [Valid RSS]](/site/images/rss-valid)
![Validate my Atom 1.0 feed [Valid Atom 1.0]](/site/images/atom-valid)
![RSS feed [Valid RSS]](/site/images/css-valid)