As the honored reader probably already knows we finished flight controller and frame. For those new to the story I must mention that in my last two blog entries I talked about the construction of the flight controller and then described how we built our frames.
Our UAVPs already started to resemble quadcopters.
So next we started mounting the four brushless motor controllers which we intended to use. Both UAVPs will use YGE30 brushless motor controllers which are able to handle current up to 30A and should be fast enough for a quadcopter with 54cm diameter.
This will allow us to use a wide range of motors:
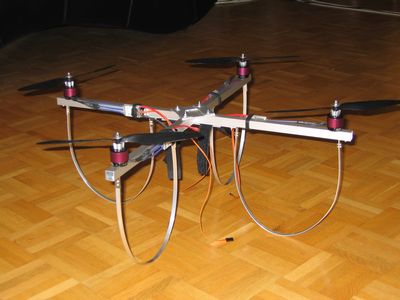
We added the flight controller in the middle of the frame and we put some Klett bands under the frame to be able to attach the Lithium ion polymer battery pack we intend to use:
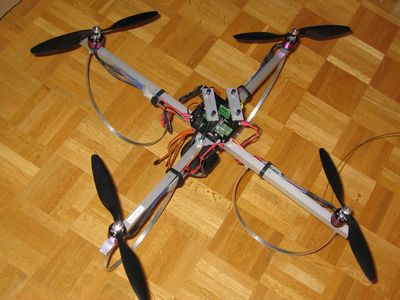
When all connectors and power cable were connected it looked like this:

The second UAVP looks similar:
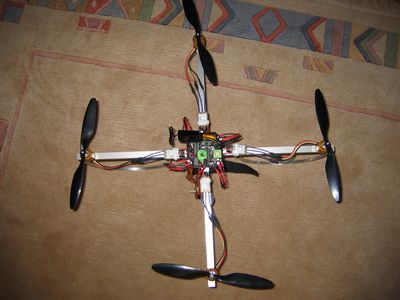
Next we started pondering the problem of crashes and how to protect the fragile flight controller from impact forces.
To be sure to have the electrics protected all the time we designed a sort of cap for it which surely will absorb some of the impact should it happen to fall on it:
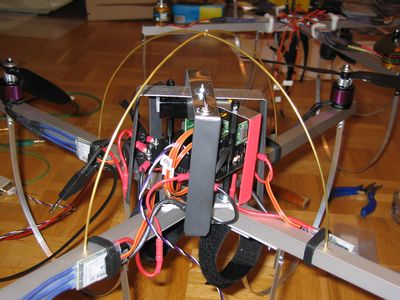
Looking at it on the second UAVP it shows how tightly everything fits:
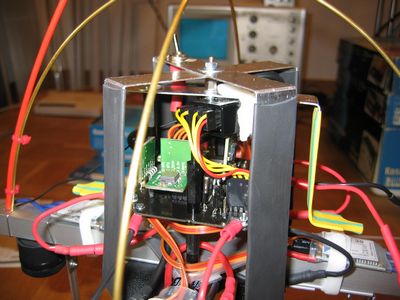
Mounting the Lithium ion polymer battery pack did not take long.
Finally ready to for flight we connected the serial connection to our laptop and started to tune the flight controller's parameters for it's PID closed-loop controls:
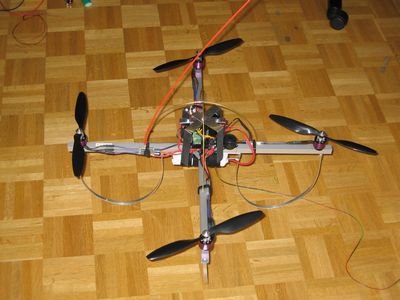
Here is another detail picture:
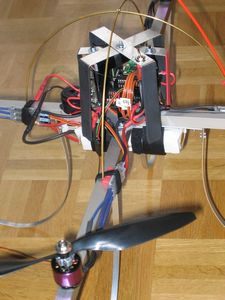
The second UAVP with mounted Lithium ion polymer battery pack looks similar:
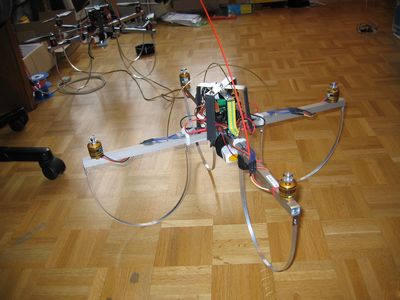
With this we finally finished the construction of our two UAVPs. All pre-flight checks check out and it seems the two quadcopters are fully functional and ready for flight.
The new frames and flight controllers will have to prove themselfes in their first flights. I will tell you more about success or failure of our test flights in my next blog entry!
![The sitemap of this site [Sitemap]](/site/images/sitemap)
![Validate my RSS feed [Valid RSS]](/site/images/rss-valid)
![Validate my Atom 1.0 feed [Valid Atom 1.0]](/site/images/atom-valid)
![RSS feed [Valid RSS]](/site/images/css-valid)